Admin: Countries
The Countries page allows Managers and Admins to configure country-level partnership settings, deployment likelihood, and contacts for their organisation.…
The Countries page allows Managers and Admins to configure country-level partnership settings, deployment likelihood, and contacts for their organisation. These settings directly influence which events trigger notifications and how events are prioritized in the Alert Matrix.

Viewing Countries
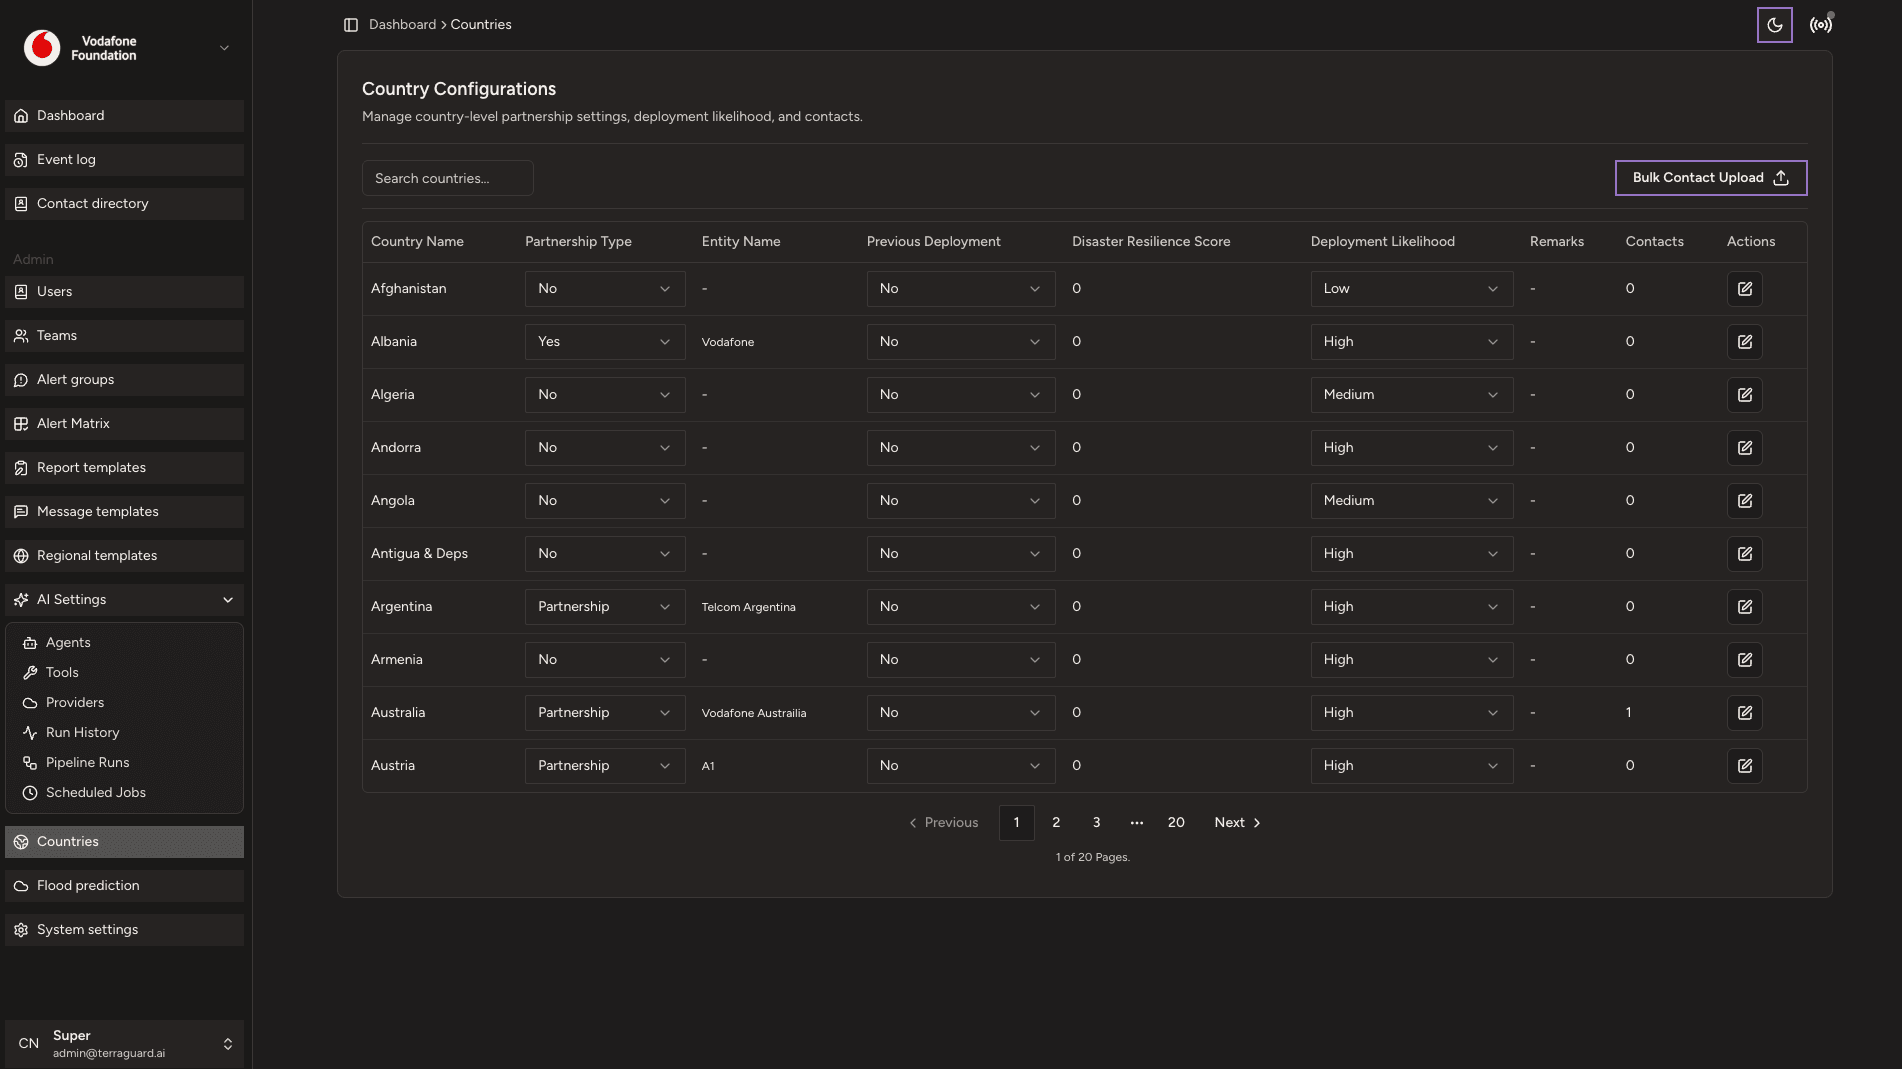
The Countries page lists all countries configured for your organisation. The table shows:
- Country Name — searchable via the search bar
- Partnership Type — the organisation's relationship with this country (Yes / No / Partnership)
- Entity Name — the local entity or office name in that country
- Previous Deployment — whether the organisation has previously deployed there (Yes / No)
- Disaster Resilience Score — a numerical score indicating the country's resilience capacity
- Deployment Likelihood — the likelihood of deployment for this country (High / Medium / Low)
- Remarks — any additional notes about the country
- Contacts — the number of contacts associated with this country
How Deployment Likelihood Affects Notifications
Deployment Likelihood combines with event alert level to determine notification behaviour. Countries marked High will receive notifications for all alert levels. Countries marked Medium will receive notifications for RED and ORANGE events. Countries marked Low will only receive notifications for the most critical RED events. This prevents notification fatigue and ensures teams hear only about events that are operationally relevant.
Editing a Country Configuration
Super Admins can edit any country's configuration by clicking the edit icon in the Actions column. Update the partnership type, deployment likelihood, entity name, and remarks, then click Save.
Bulk Contact Upload
Super Admins can upload contacts in bulk for a country using the Bulk Contact Upload button. Prepare a CSV file with the required columns (name, email, phone, role) and upload it via the dialog. The system validates the CSV before importing.
Admin: AI Settings
The AI Settings section is accessible only to Super Admins and exposes the internal agentic platform — the agents, tools, LLM providers, and job execution…
Flood Prediction
The Flood Prediction page displays real-time flood forecasts powered by the Google Flood Forecasting API. It provides early warning data for river gauge…